How I Build My Weekly Newsletter on an iPad

The third issue of my email newsletter, Birch Bark, will be hitting peoples’ inboxes tomorrow, and I wanted to take a bit of time to show how I build the email every week.
Requirements
I need to have a block of HTML that I can paste into a MailChimp template, so I should be able to write HTML easily and with a level of automation so I don’t screw it up.
I also need the system to be cross-platform, as I do most of this from my iPad, but could us a Mac, Windows PC, or even my iPhone to add content.
Link Collection: Todoist
I was doing this in Things, my normal task manager, but with Windows in the mix, I needed to use something else, so Todoist was the winner. This is all I use Todoist for, so I use the share extension on iOS, and the browser plugin on my desktops to save things when I think they could be good for the email.
Content Syncing: GitHub via Working Copy

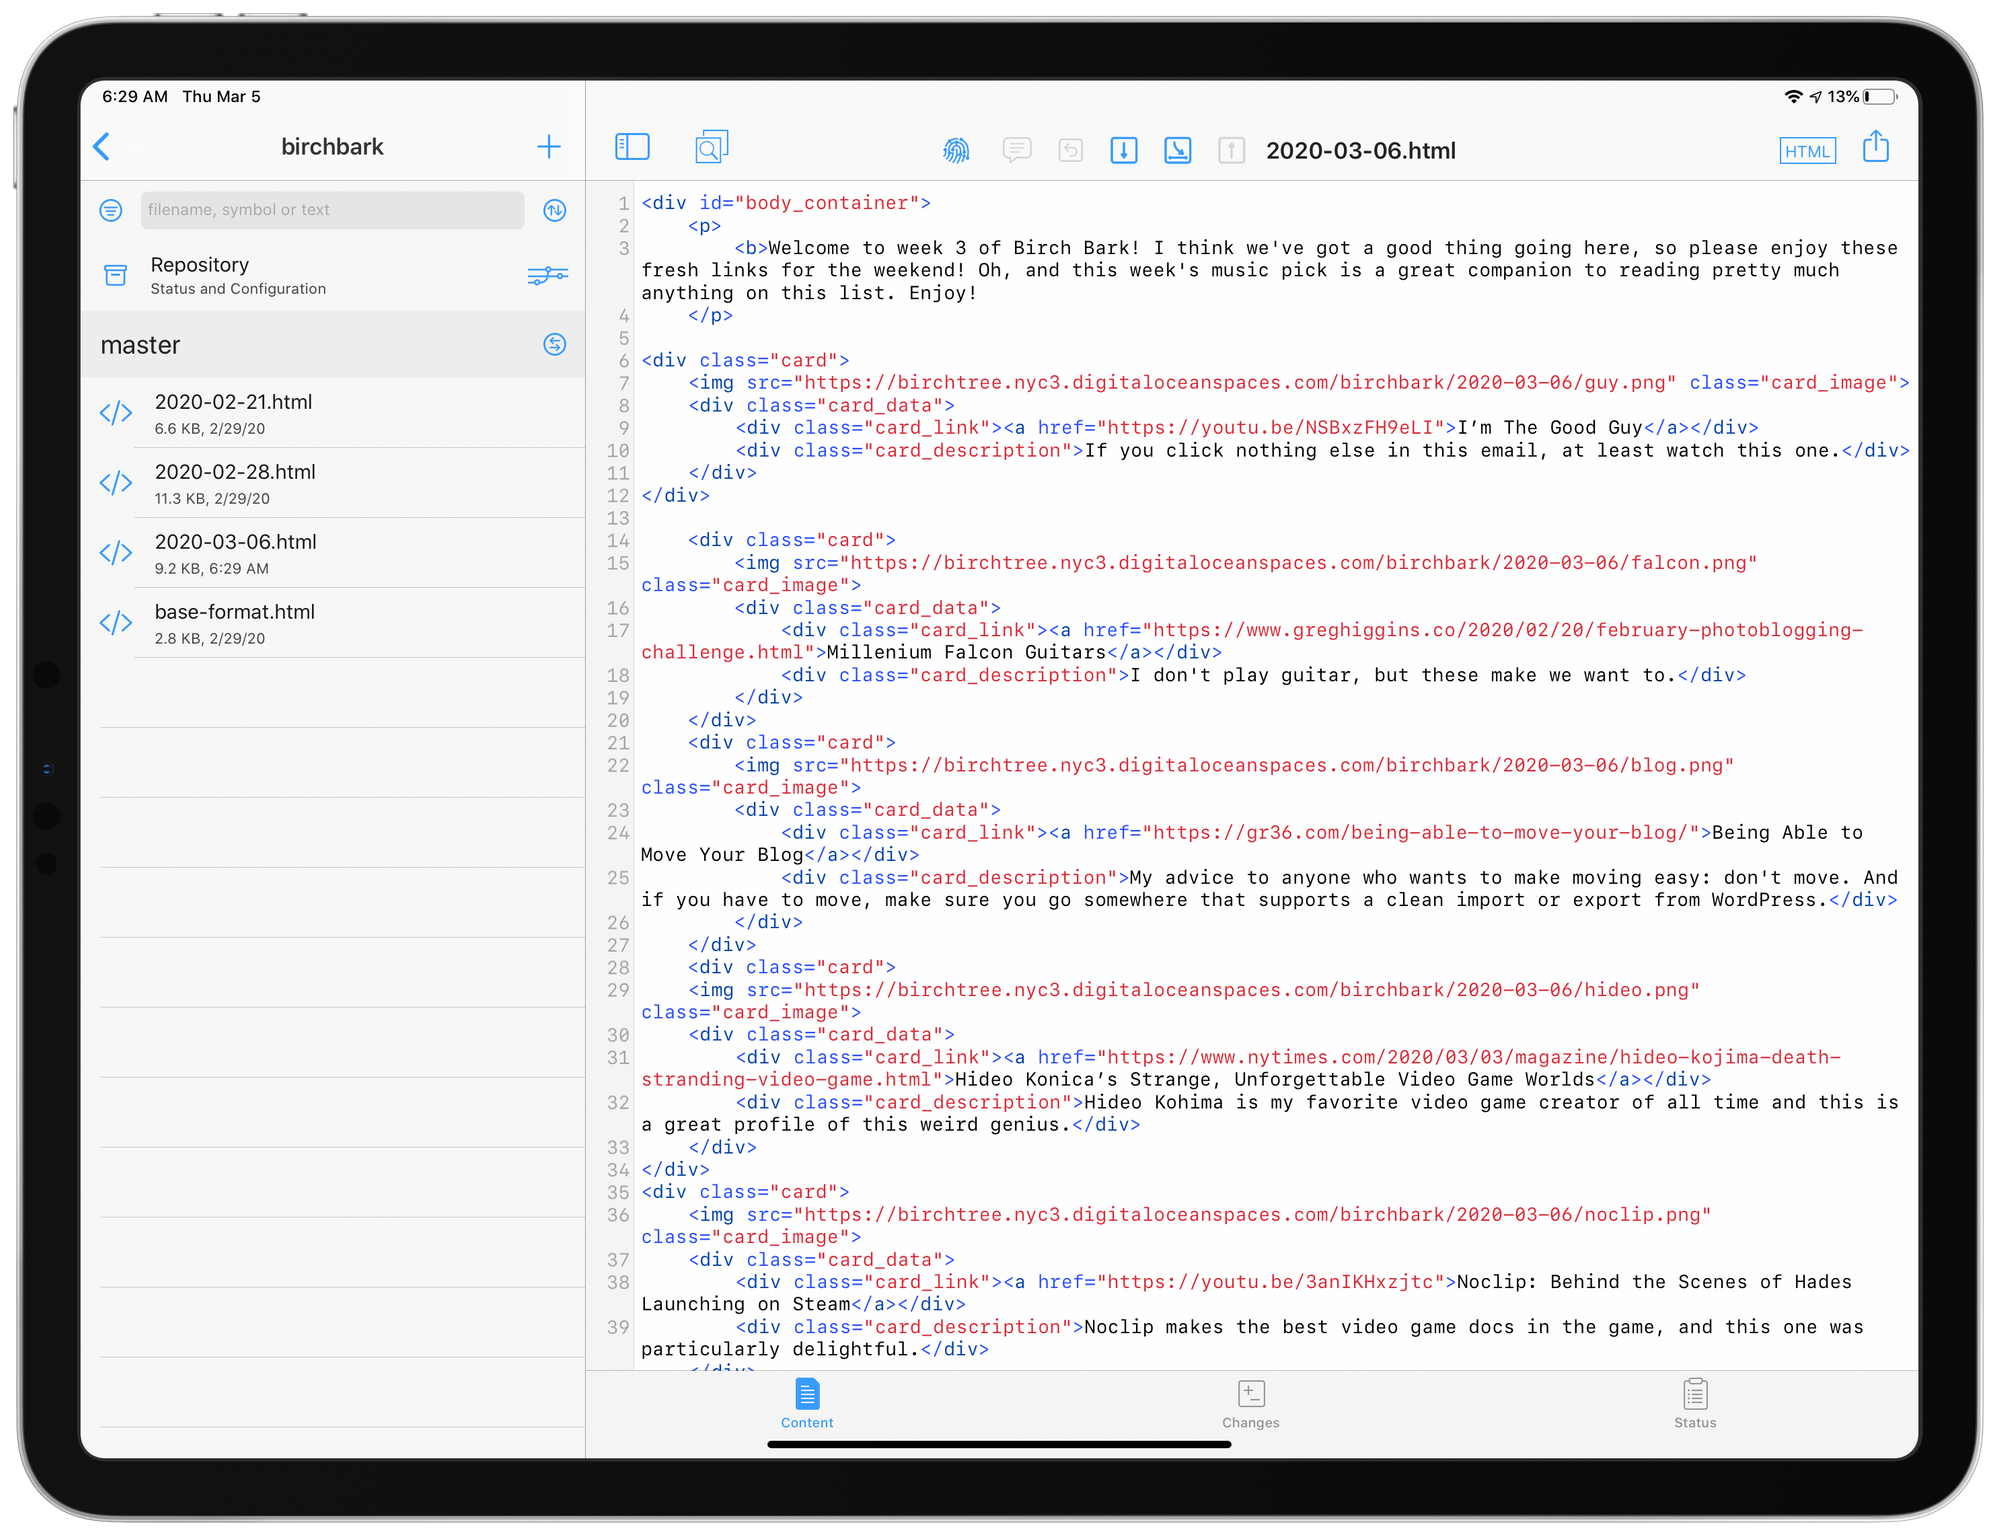
I create each email as a new HTML file, with the idea that I can simply copy the entirely of that file into MailChimp when I’m ready to schedule the email. On my iPad I use Working Copy to edit my files and sync them up to GitHub. Syncing to GitHub means I have access to these from any device, and I can easily sync changes quickly.
Birch Bark is a private project on GitHub, so no peeking 😉
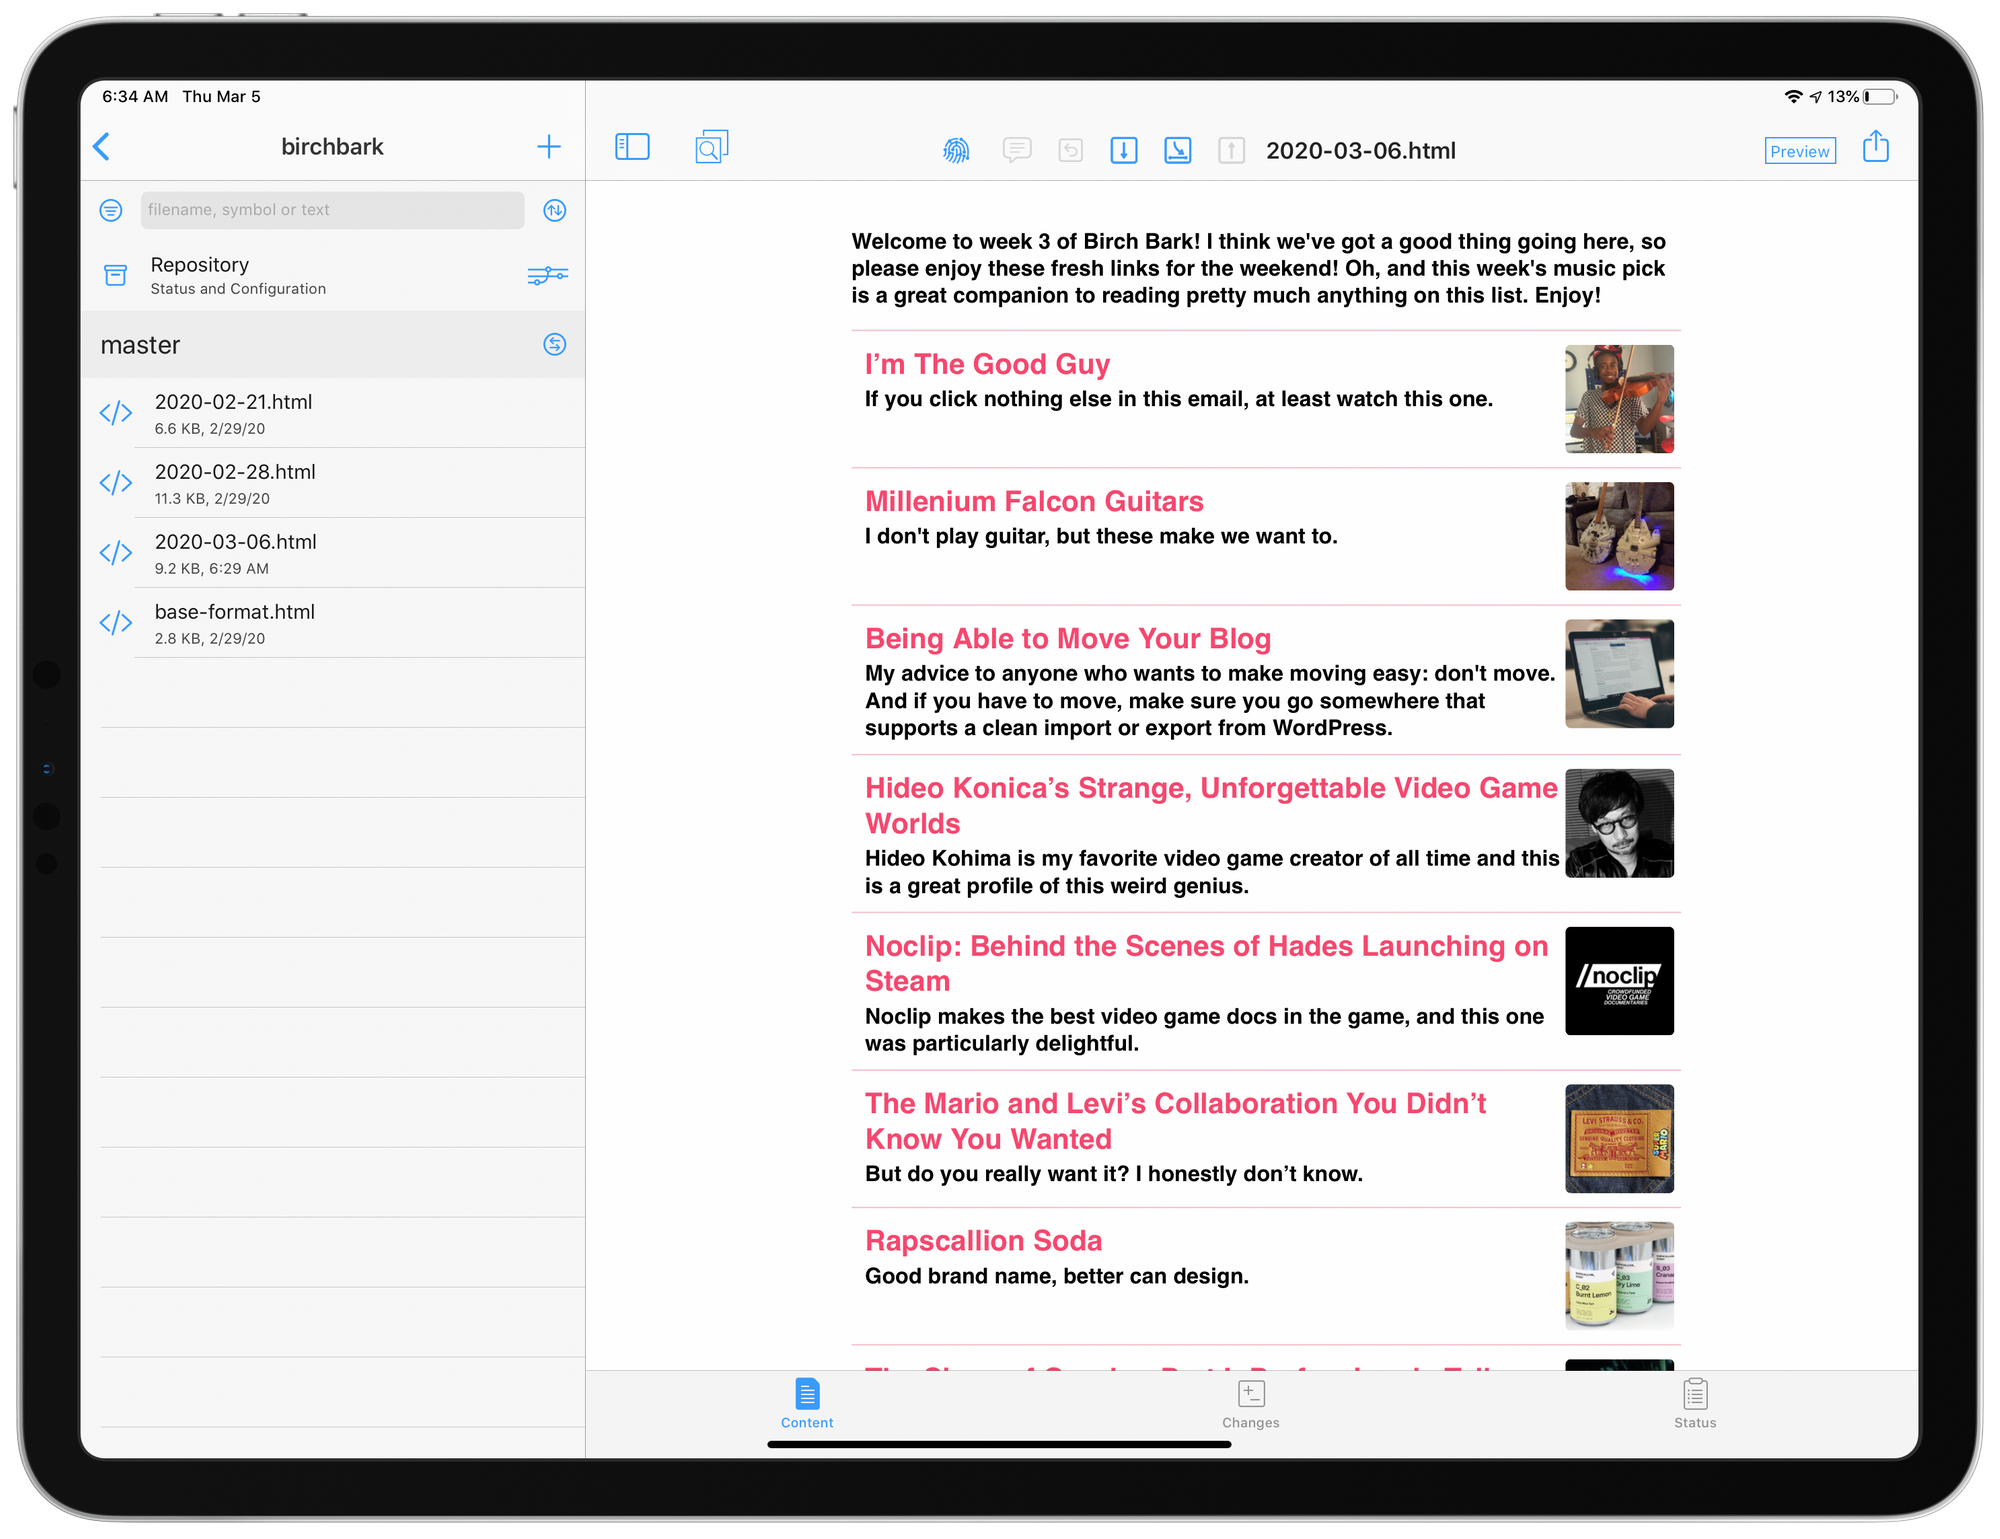
Also, Working Copy has a nice preview mode, so I can preview the email as I write it, making sure my formatting is accurate at all times.

HTML Formatting: Custom Website

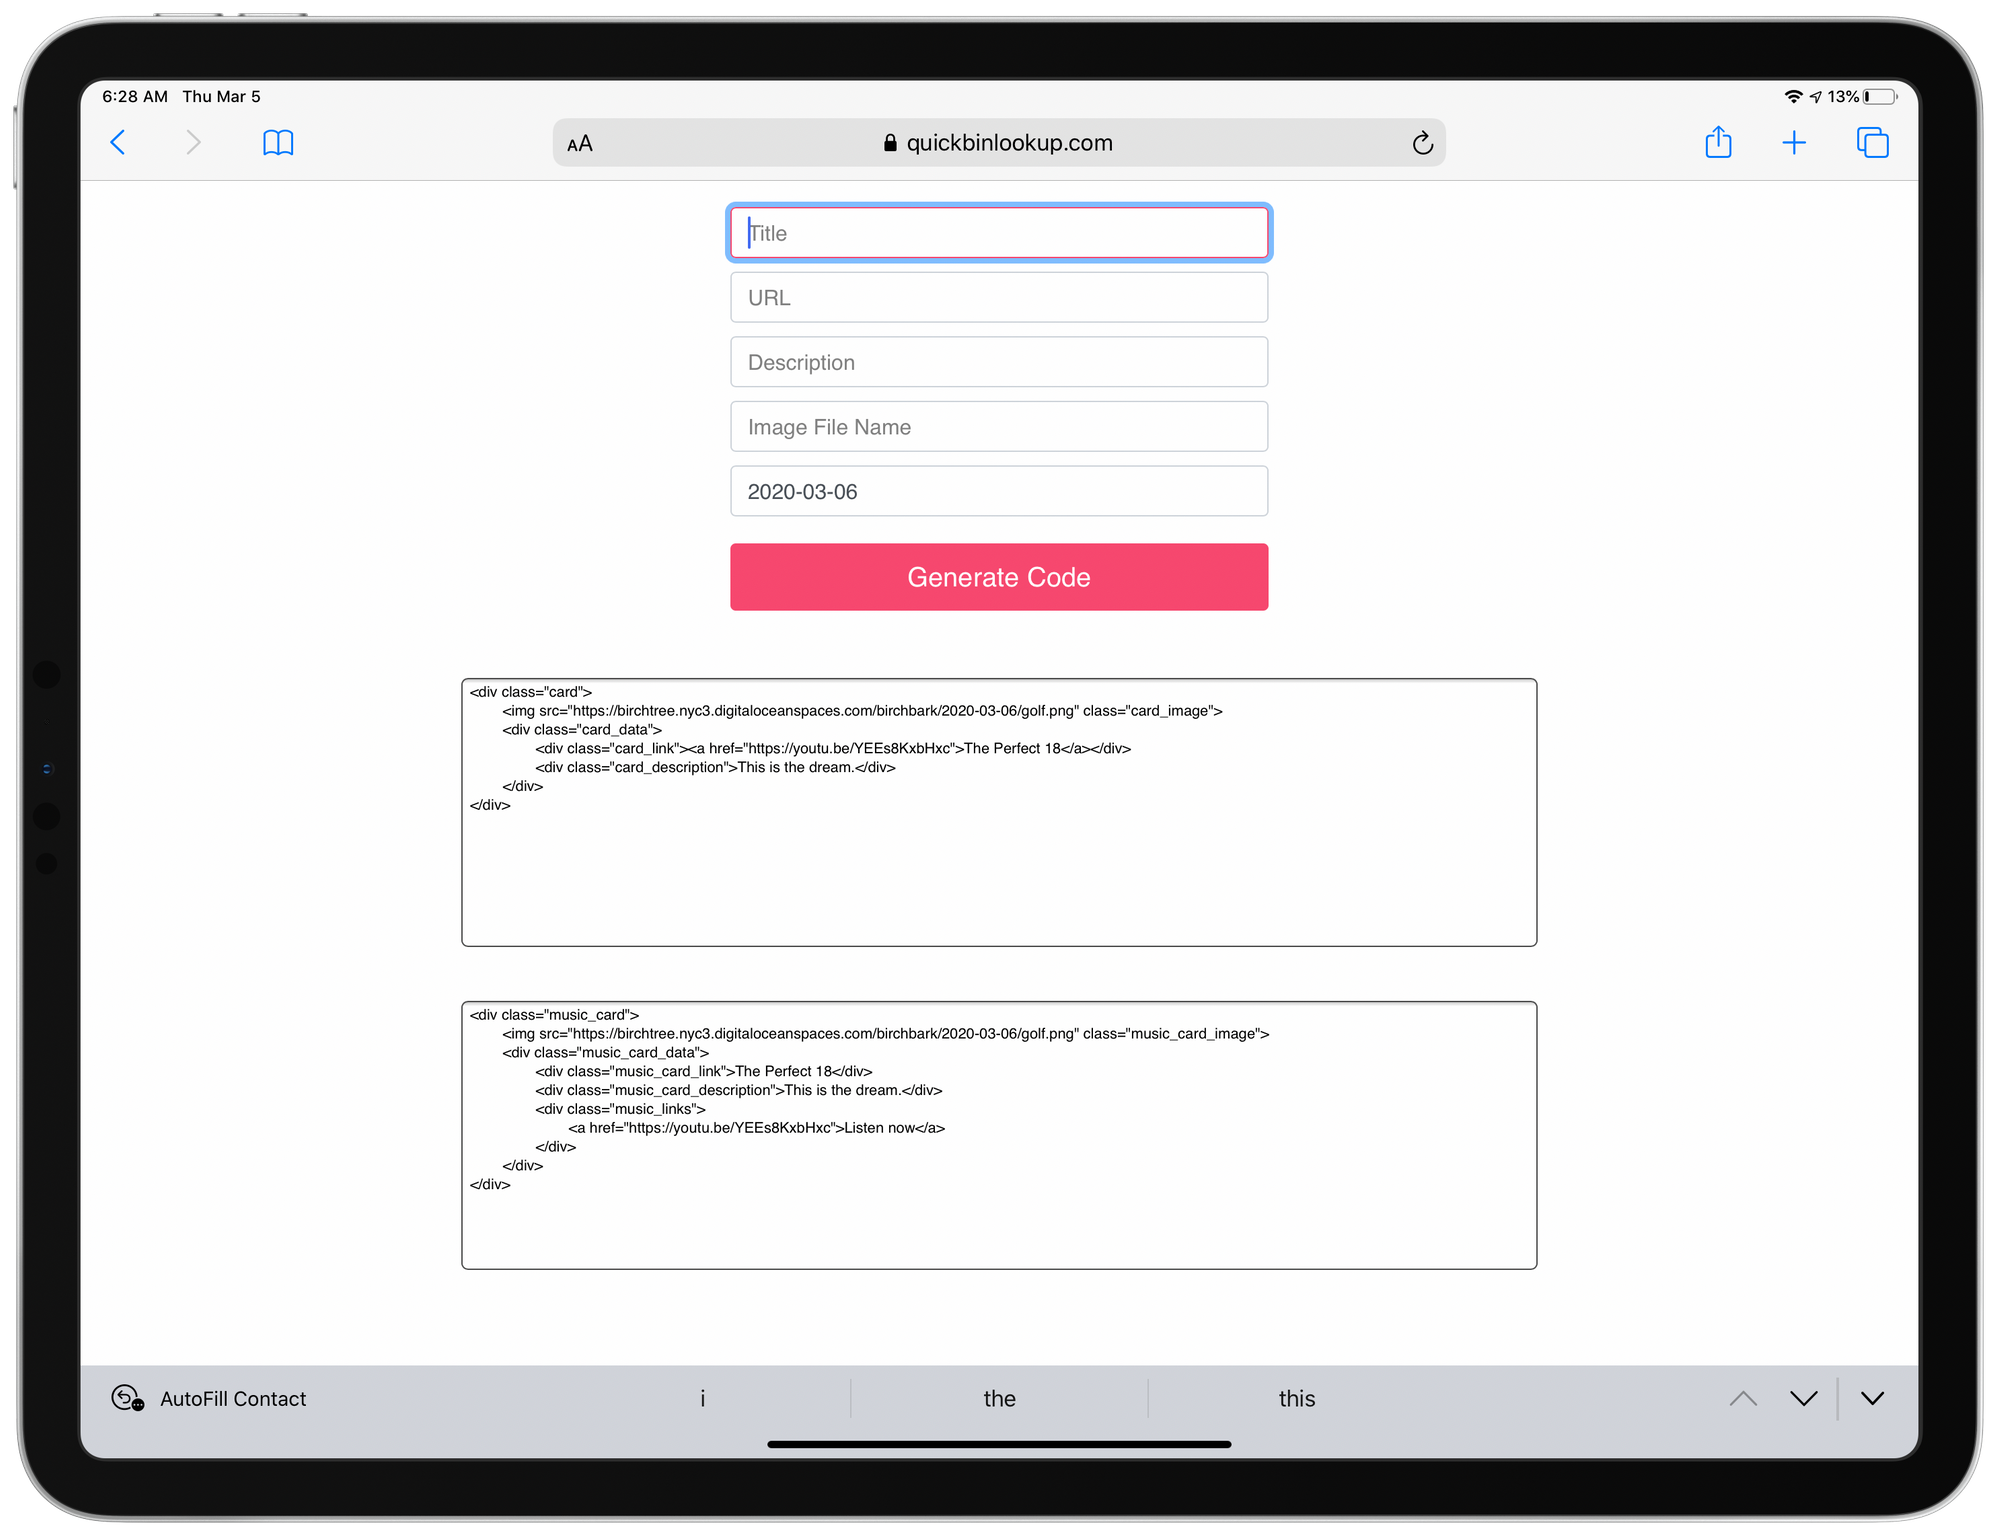
No judgement on the UI, please, but I made this basic webpage for myself to enter the relevant info for each link in the newsletter and it spits out the code I need for the email. Instead of writing HTML, I just enter the article name/link/description/image file name, copy the HTML, and paste it into Working Copy.
Image Creation: Affinity Designer

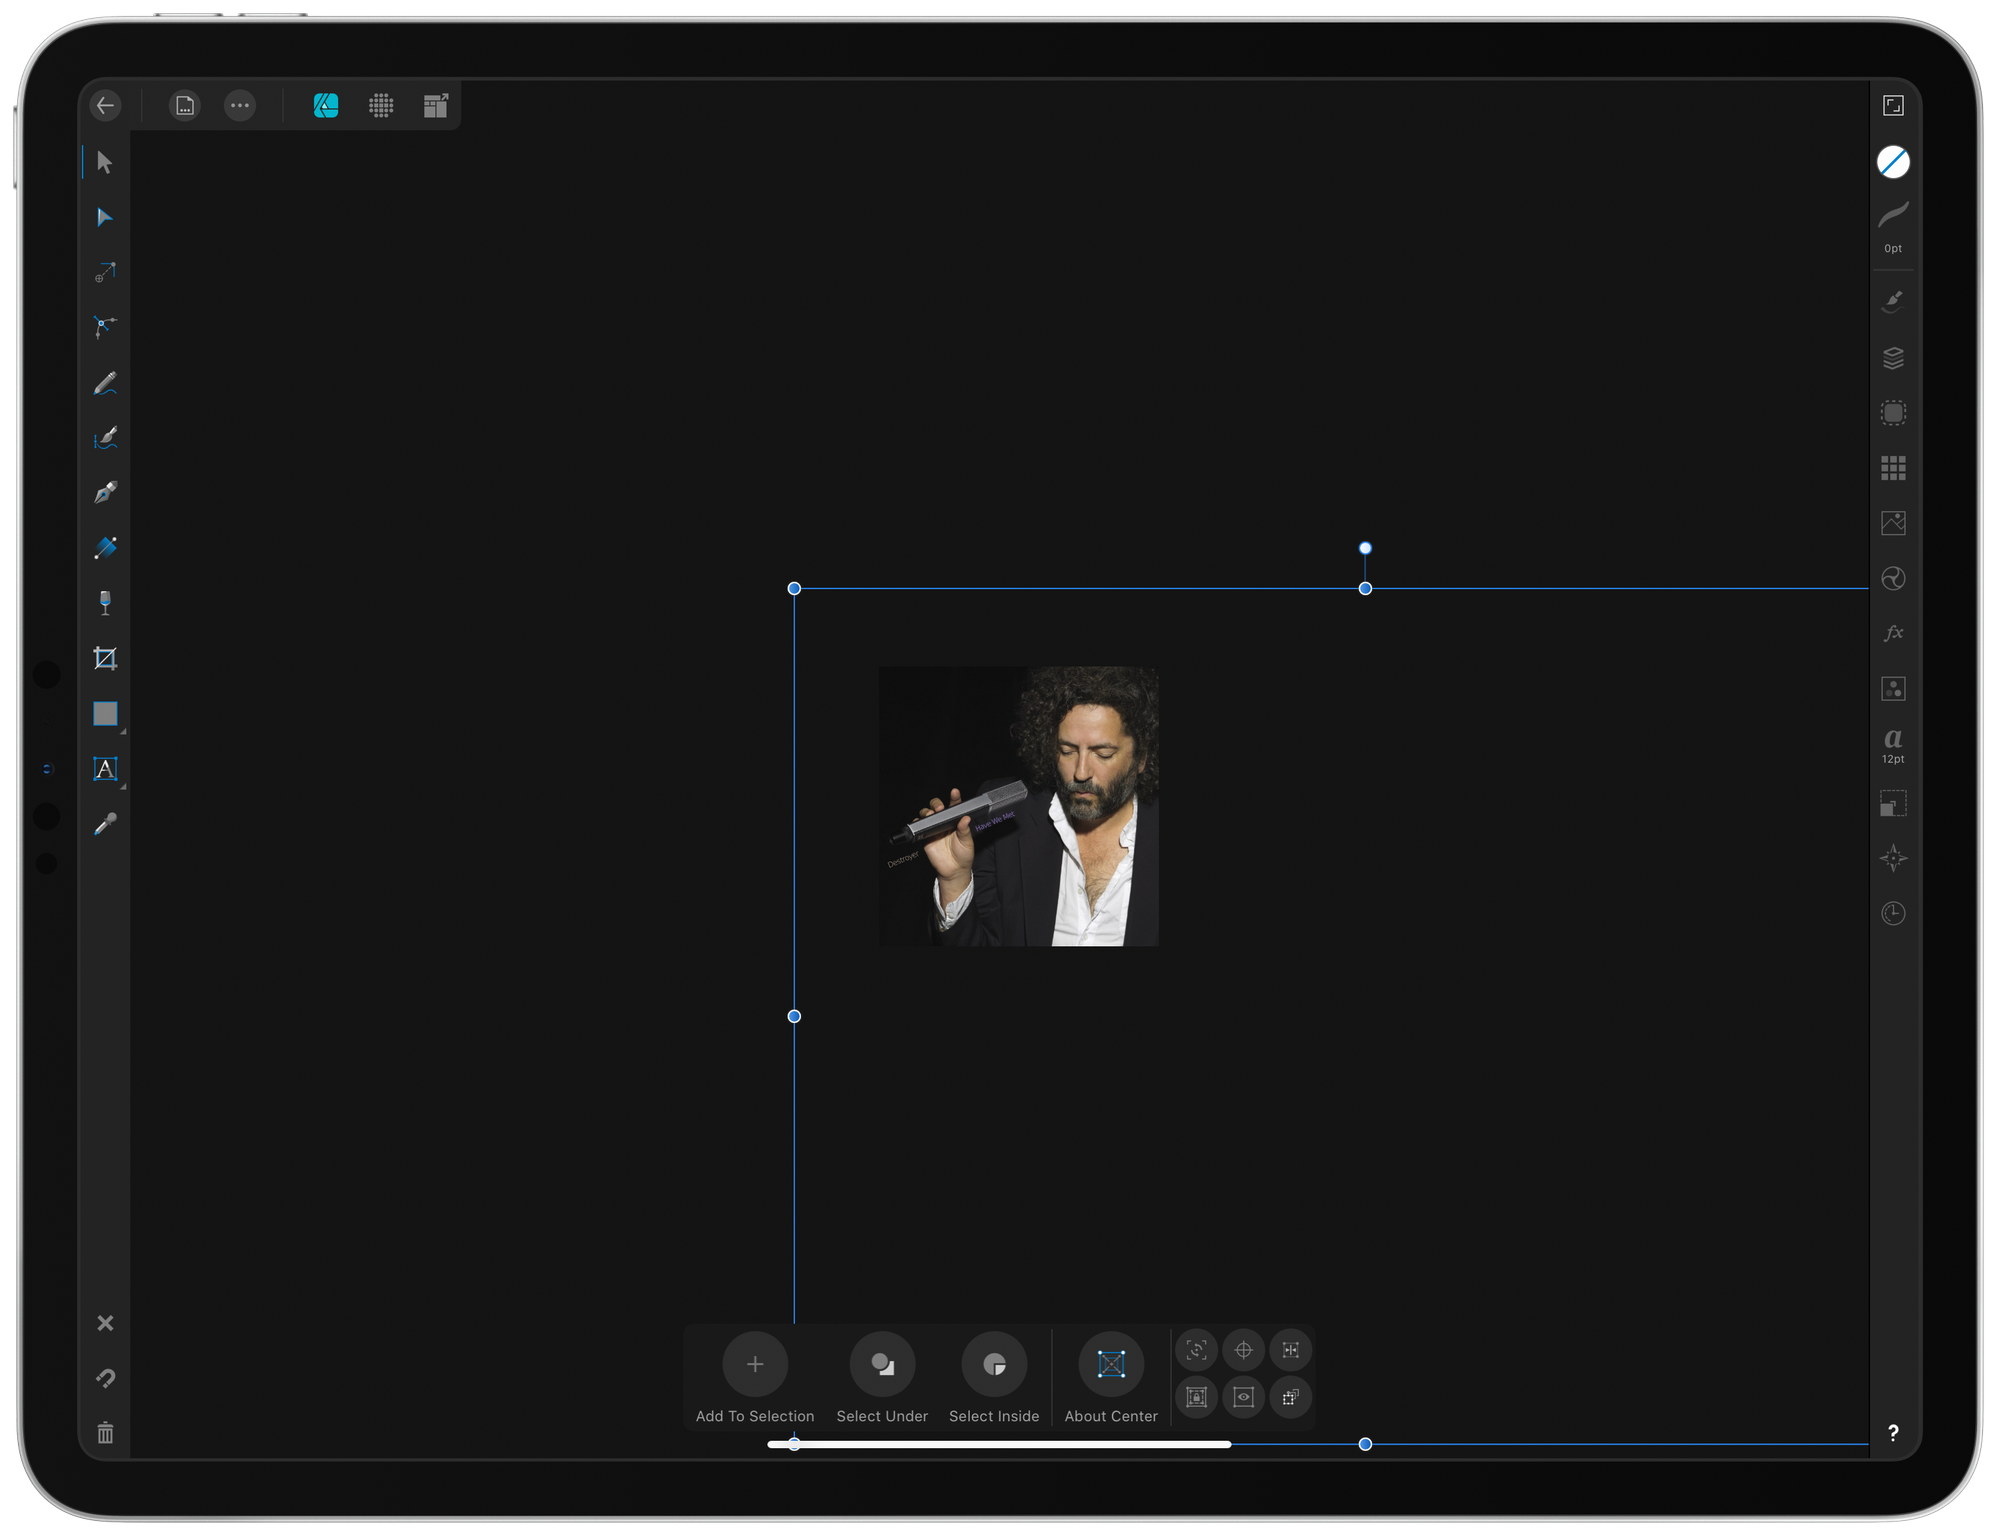
To make the email more appealing, each link also has an image to go along with it. This image is a simple 256x256px PNG that I create in Affinity Designer for the iPad. When on my Mac or PC, I use Adobe XD.
In both cases, I have a cloud document saved with the correct sizing, so I can easily get the right dimensions every time.
Image Hosting: DigitalOcean Spaces
DigitalOcean hosts all of my websites, and I really love their service. They also have a feature called Spaces which lets you upload files and give them public links that you can use everywhere. I upload through their web UI or via Transmit for the iPad/Mac. This saves me from having to attach all the images to the email or host them on MailChimp. It’s close to free, but does cost me a few pennies per month to host these specific files.
Publishing
Once I have all the links collected, the HTML written, and the images created and hosted, I simply go into MailChip for the final steps.
I create a new campaign by simply duplicating the last email, update the subject line and campaign name to the new date, edit the template to include the new HTML, and schedule it to go out on Friday morning.
Then we start all over again, looking for new fun links!
Discussion