My Dumb Hobby
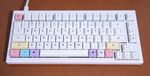
This is my keyboard, the Keychron Q1, and I've been using it for about a year, but it's changed a good deal from the product I originally got in the mail. I've gone more and more down the rabbit hole of mechanical keyboards, and the Q1 was a great keyboard for me because it is built to be taken apart and fiddled with. Obviously I could just use a Magic Keyboard and be just as "productive" but this is as much about having fun as it is about anything else.
Change 1: New Key Caps
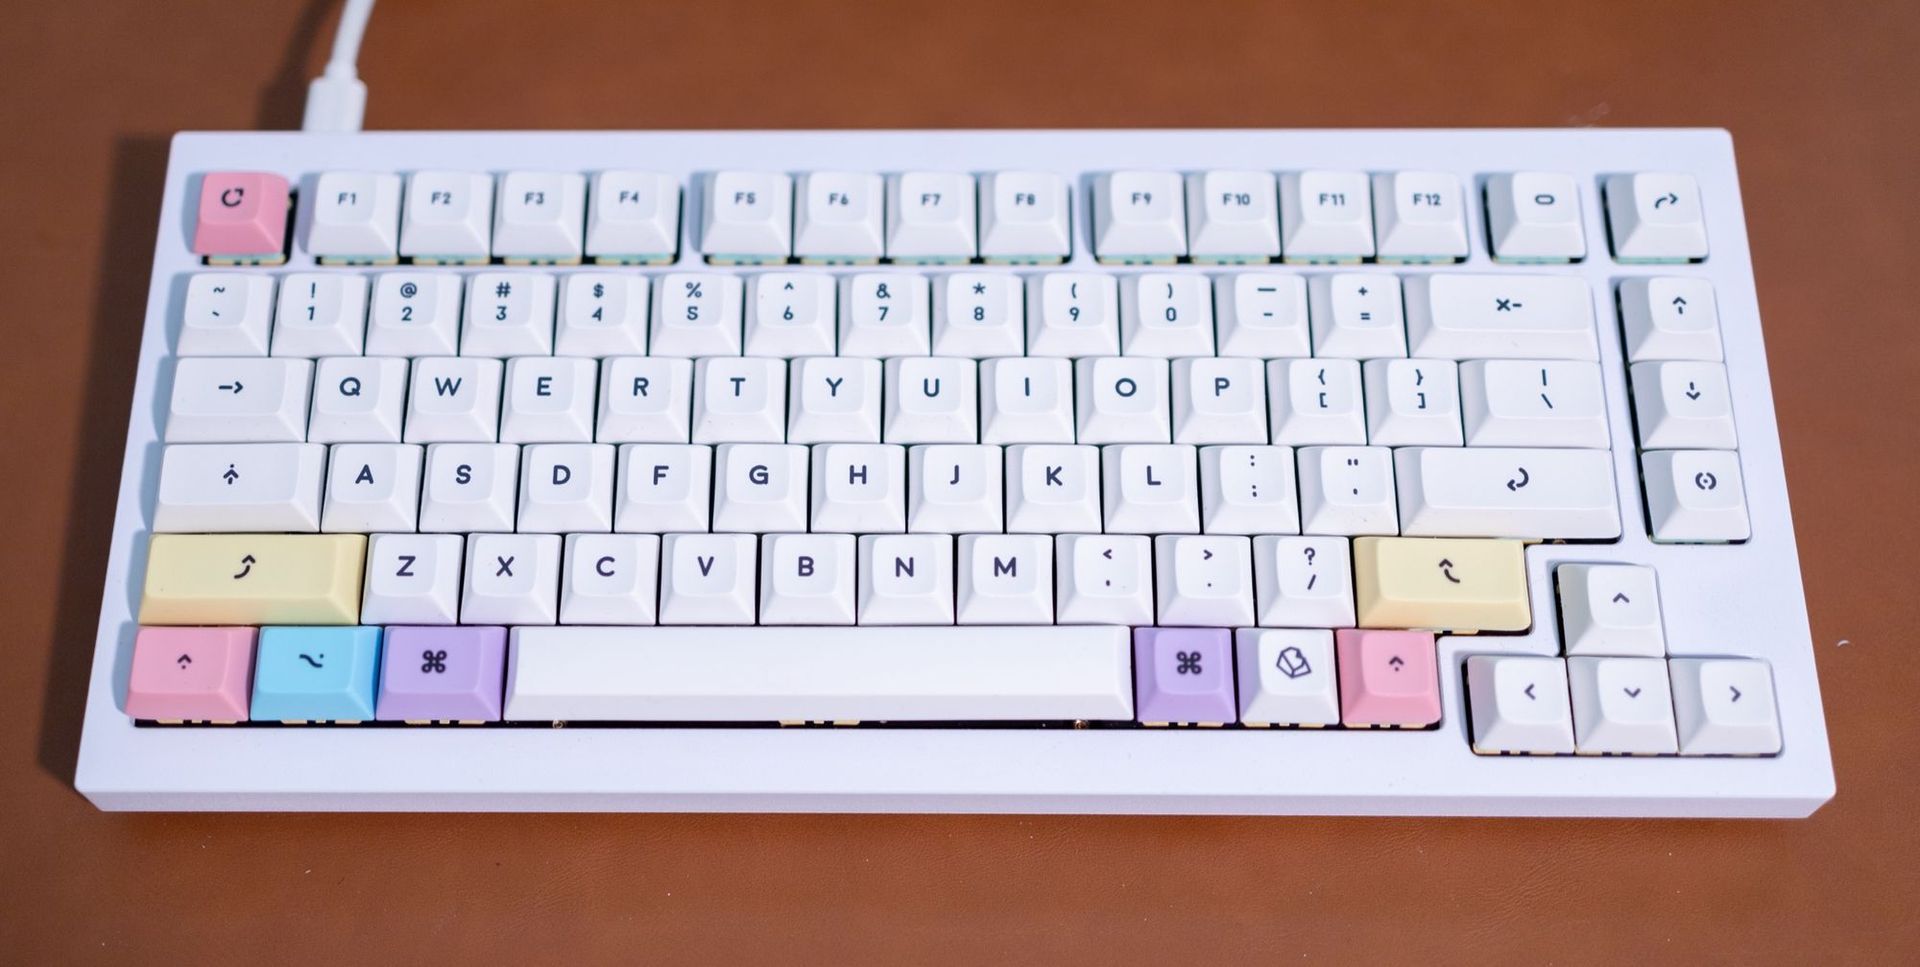
These are the DSA Milkshake key caps with the addons set , and in my opinion they look absolutely incredible. I smile every time I see this keyboard. These were stupid-easy to add, as you can pull off the key caps with your fingers if you want and just press these on.
Change 2: New Switches
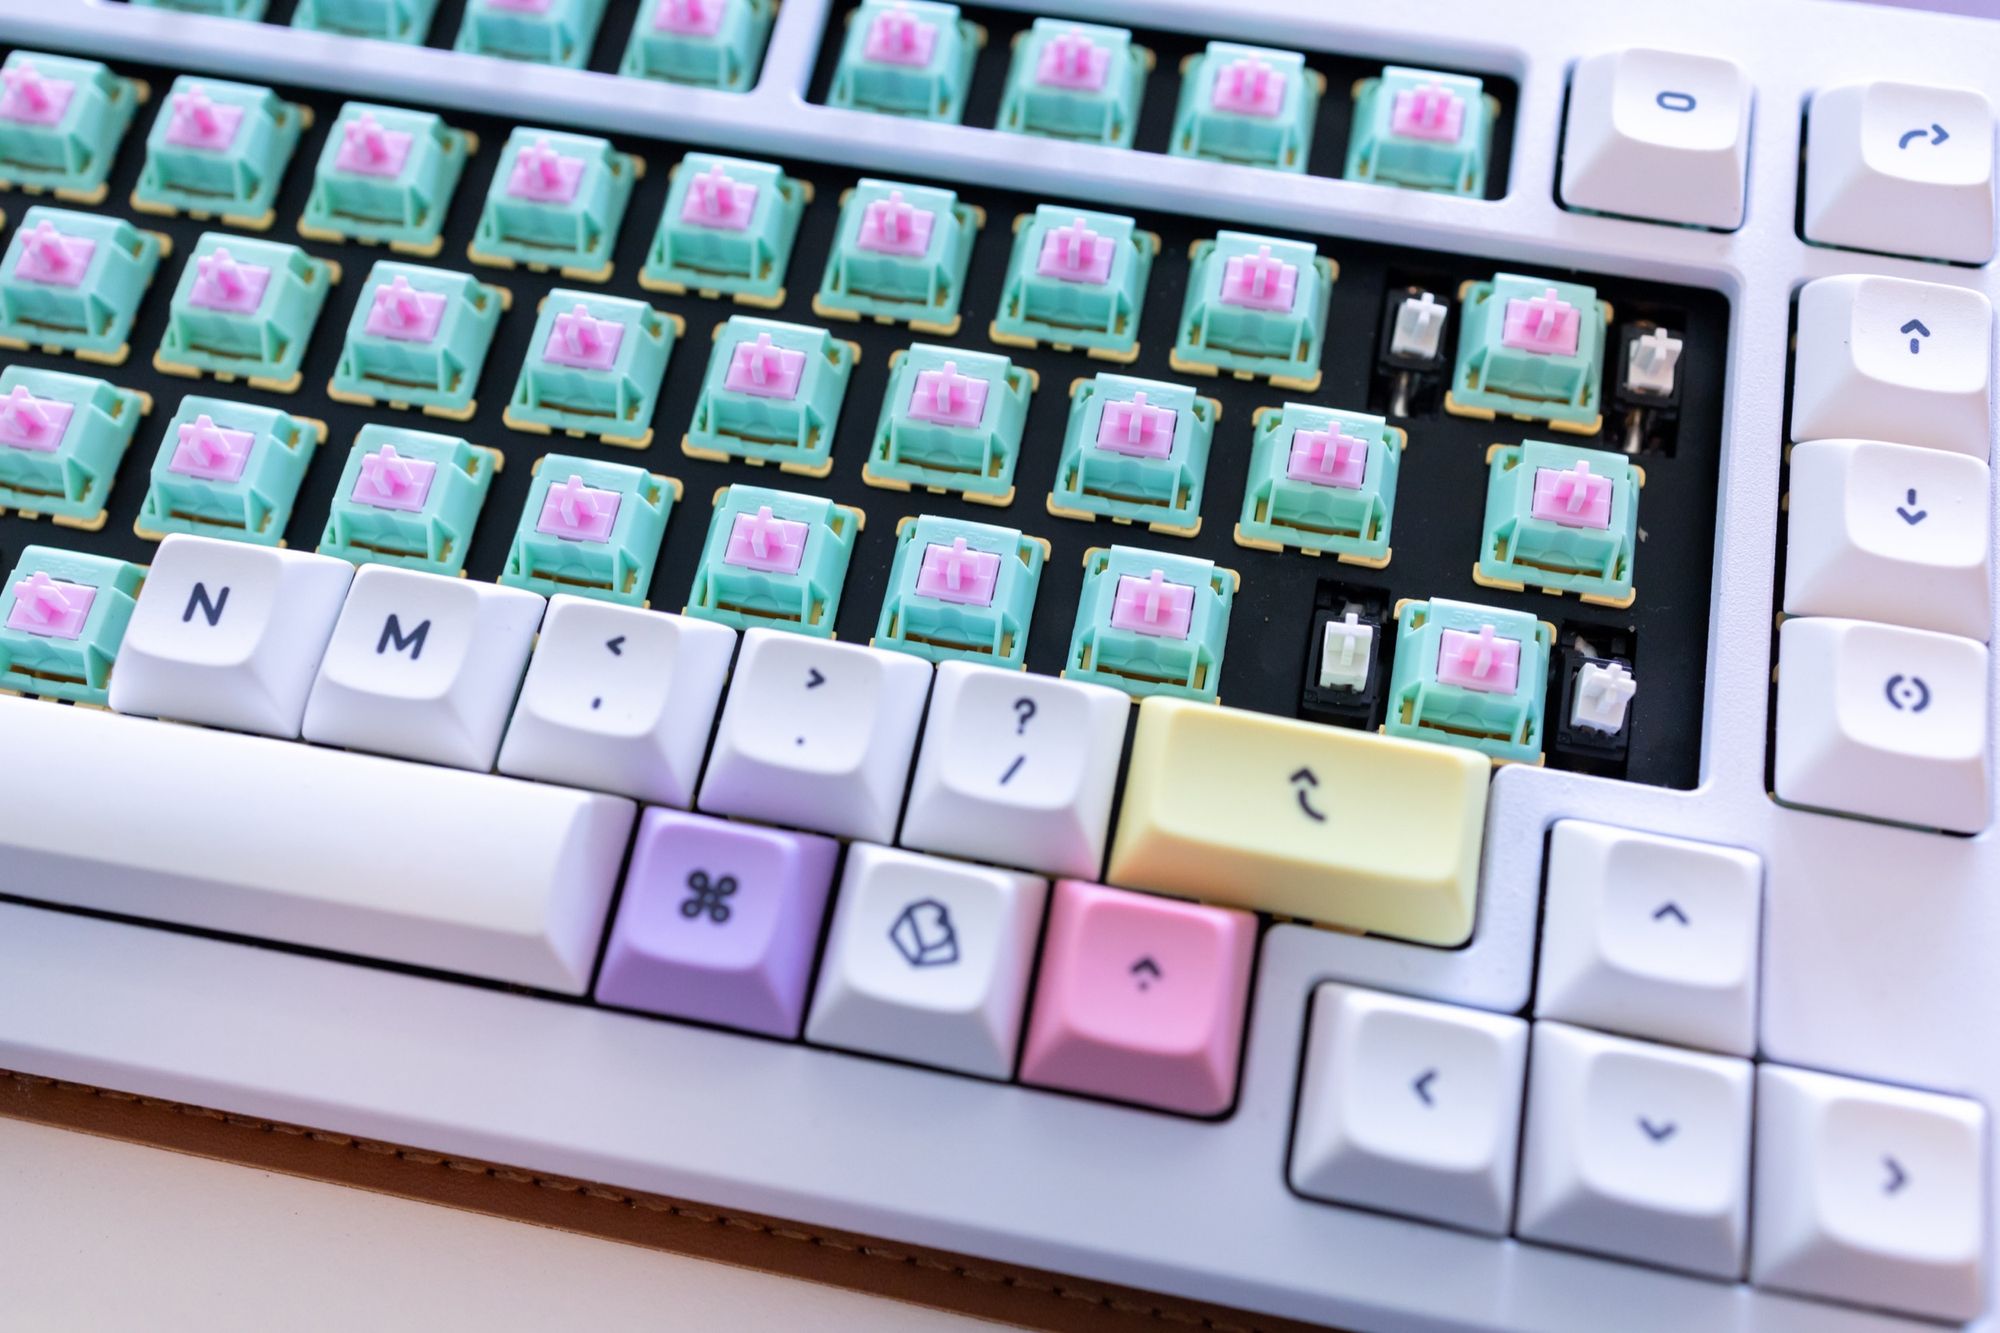
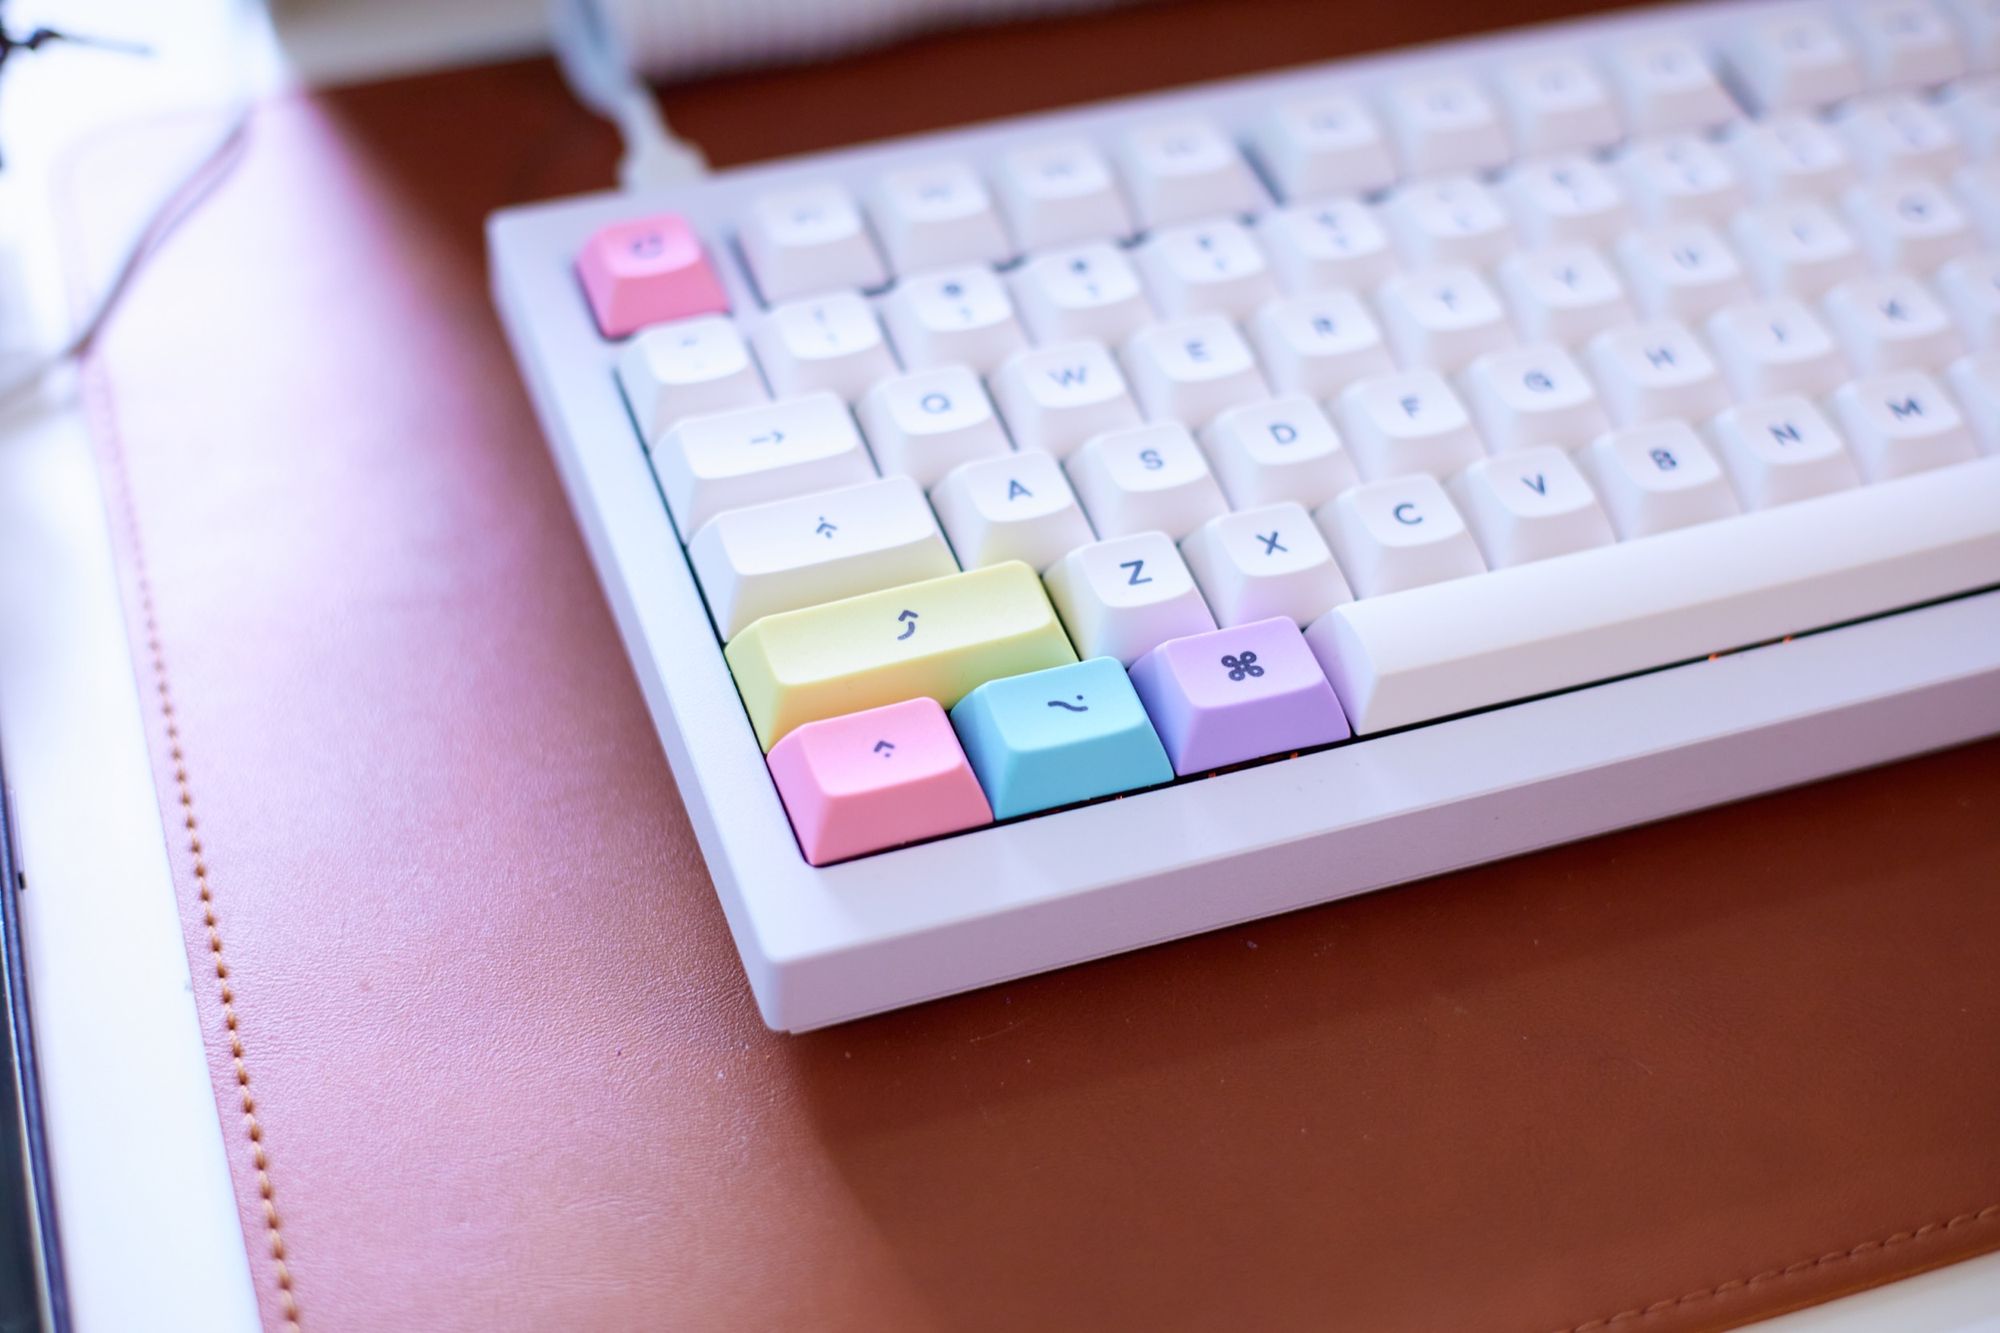
I got the Q1 with Gateron browns, but I wanted something different, and I got the Magic Girl Classic switches which I was able to get onto the keyboard pretty easily. This was definitely more work, and this is what my desk looked like while I was working on this:
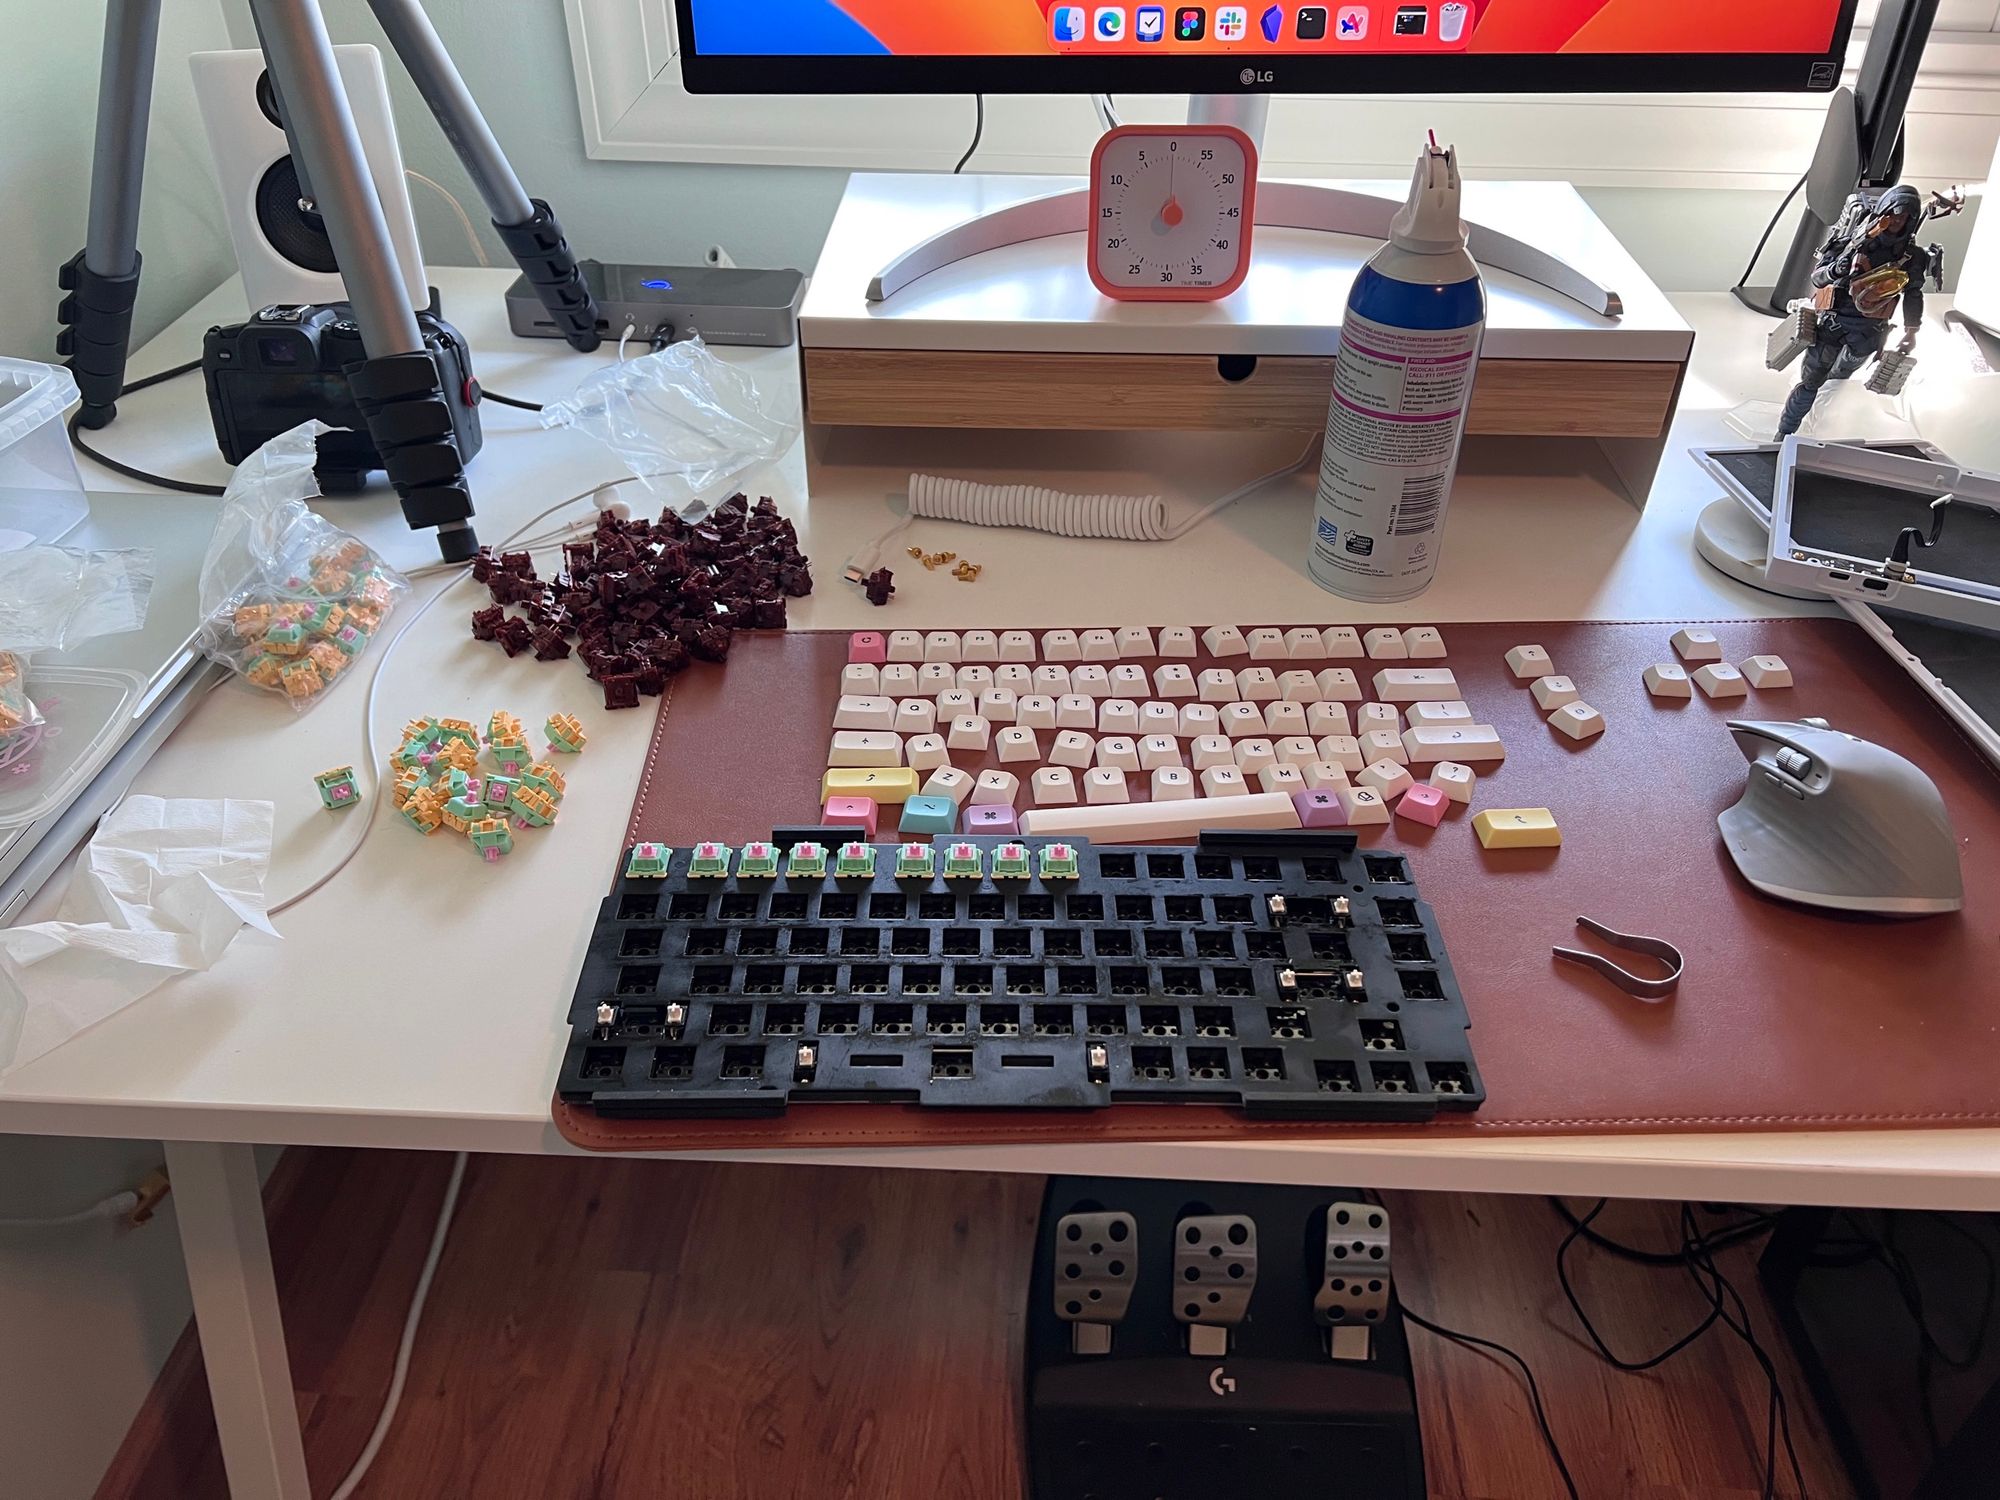
This took 30-45 minutes total, which wasn't bad at all, and the Q1 ships with a switch removal tool, so taking the old keys out was tedious but doable. I like how these sound and look (even if I can't see them day-to-day), but they do take a bit more pressure to depress than the browns they replaced, so I definitely see myself looking for something else one day.
Note that the Keychron Q1 is hot-swappable, which means you don't need to solder the switches to the board. Always look for "hot-swappable" when mechanical keyboard shopping if there's any chance at all that you'll want to change switches one day.
Also, I didn't lube the switches, which would make them a bit smoother to use, but they're really good with the factory lube, so I think I can put that off for a while.
Change 3: More foam!

The Q1 has some foam already in the case to reduce echos, but there's still more echo than I'd like, so I cut down a thin piece of foam to fit below the electrical board (PCB). This is the same idea as what it ships with, buy my piece is a bit thicker and softer and seems to absorb more sound.
Change 4: Tape? Tape.
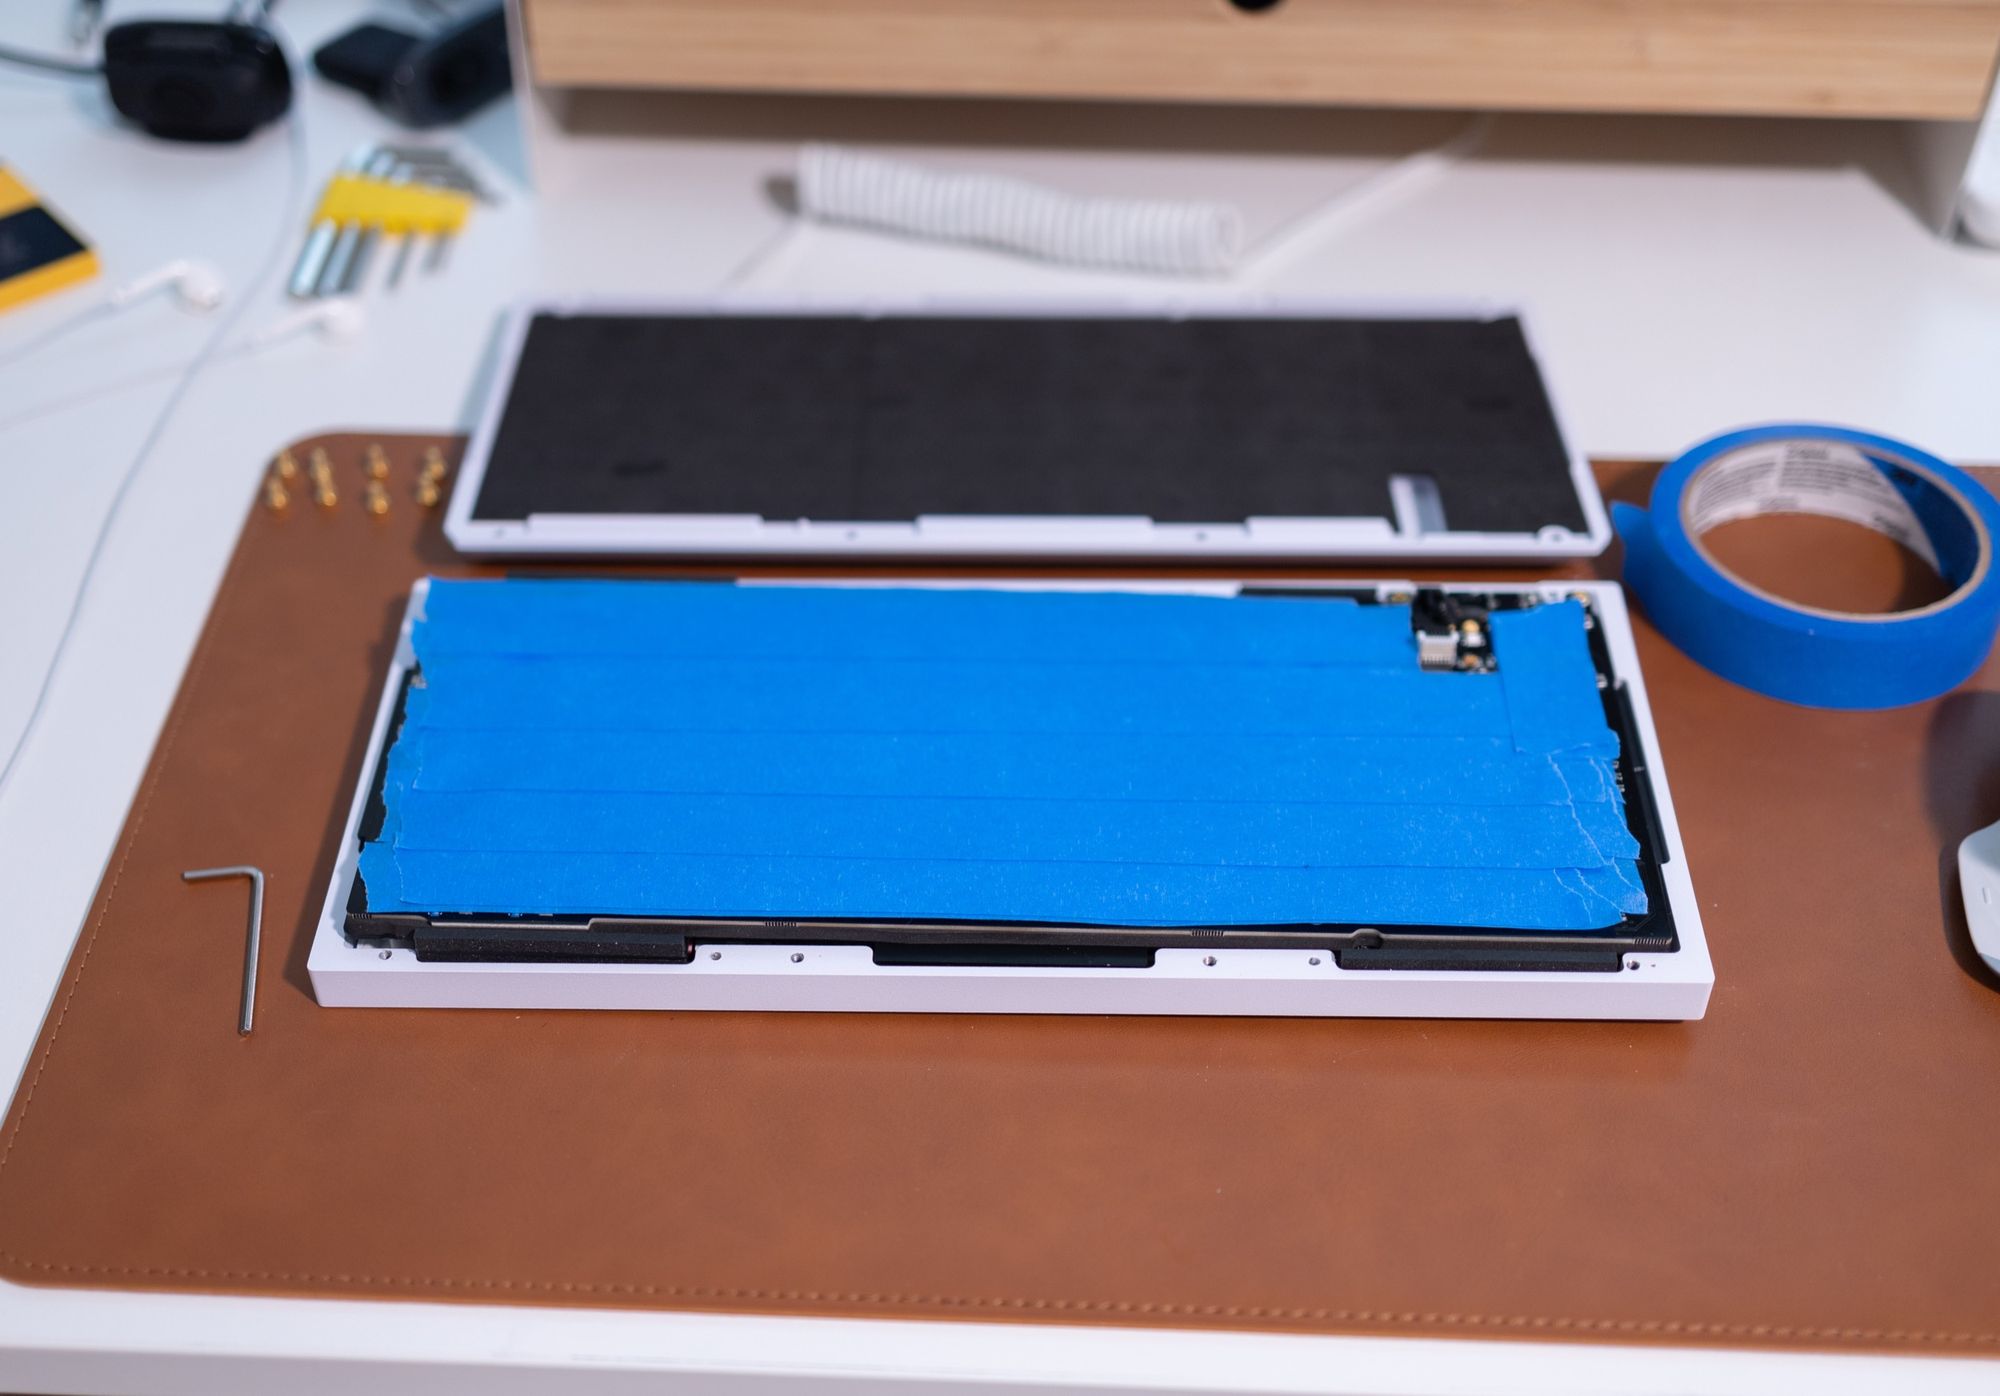
I had no idea this was a thing, but another way to reduce echo is to tape the bottom of the PCB with something like painter's tape, which will not get permanently stuck to the board.
I did 3 layers of tape, but you can do as much as you'd like depending on how much space you have to work with. If my foam was a little thicker I could have skipped this step, but this worked for me.
I Love This Stuff
In another month or two I'll think of something else I can do to it, and it will just keep improving. This keyboard has cost me far more than anyone needs to spend on a keyboard, but that's okay, it's a hobby! Some people fix up cars when they could just buy a Camry, and other people fiddle with keyboards when they could just use a $20 from Dell.